Preparing the environment
The following is an example of how to prepare environment to work with machining tools import API, using the example of creating a console application in Visual Studio in C#.
- Download and install the latest .NET SDK x64 from the official site.
- To work with the source files, download and install the latest available version of Visual Studio Code.
- Run the installed Visual Studio Code and install "C# Dev Kit for Visual Studio Code" extension.
If you have not yet, download and install the latest SprutCAM.
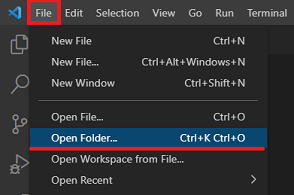
In Visual Studio Code, open an existing or create a new directory for your new project. When prompted to "Do you trust the authors of the files in this folder?", click on "Yes, I trust the authors".
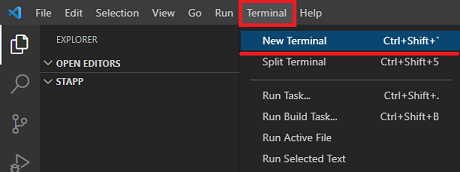
Open the VS Code terminal view.
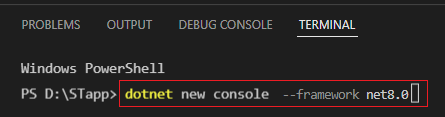
In the terminal view insert the "dotnet new console --framework net8.0" command and press enter (change the net8.0 version if you have a different SDK version).
After executing this command, the following source files should appear in your working directory:
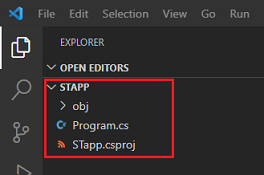
The .csproj file will have the same name as the working folder.
- Open the .csproj source file and change its contents as shown below:
<Project Sdk="Microsoft.NET.Sdk">
  <PropertyGroup>
    <TargetFramework>net8.0-windows</TargetFramework>
    <OutputType>Exe</OutputType>
  </PropertyGroup>

  <ItemGroup>
    <PackageReference Include="SprutTechnology.CAMAPI.SDK.Net" Version="18.2.1" />
  </ItemGroup>
</Project>
- Set existing DLL location paths according to your CAM environment. If you cannot find the DLL libraries, make sure the CAM client is installed.
- Pay attention to the target framework of your solution, it must match the format net8.0-windows (or higher SDK version).
- Open the Program.cs source file and change its contents as shown below:
using System;
using System.IO;
using MachinigToolsImportTypes;
using STMachiningToolsImportHelper;
using STTypes;

namespace STConsoleApp
{
  class Program
  {
    private static string assemblyPath =
      @"C:\Program Files\[CAM_Path]\" + MTIMachiningToolsImportHelper.DllName;

    static void Main(string[] args)
    {
      if (!File.Exists(assemblyPath)) {
        Console.WriteLine("The {0} source file is not found", assemblyPath);
        return;
      }

      try {
        var importer = MTIMachiningToolsImportHelper.CreateImporter(assemblyPath);
        //Use "importer" to create new tool items, to open an existing or create new machining tools libraries

      }
      catch (Exception ex) {
        Console.WriteLine(ex.Message);
      }
      finally {
        MTIMachiningToolsImportHelper.FinalizeImporter();
      }
    }
  }
}
Change the "assemblyPath" variable to existing the "Bin64" folder location path according to your CAM environment. Now you can use the "importer" instance to create new tool items, to open an existing or create new machining tools libraries, and more. Pay attention to the call of the FinalizeImporter function, this function is always called before exiting the main program.
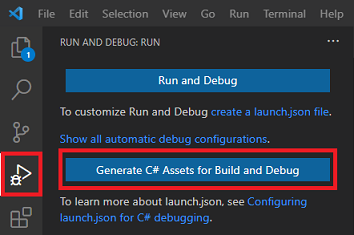
- Switch to the "Run and Debug" panel and press to the "Generate C# Assets for Build and Debug" button.
- Now you can start debugging your application:
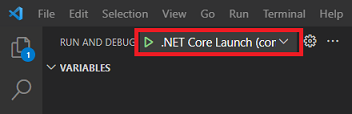
If you have set all the paths correctly, then this example should work without an error.
⭐ Congratulations, you have set up your development environment. ⭐